Plotting Spectra with pplot
|
Contents: Description, Procedure, Functions Used, Related Functions
Description Run through a variety of pplot() cases. The commands can be run automatically by using pplot_tutorial().
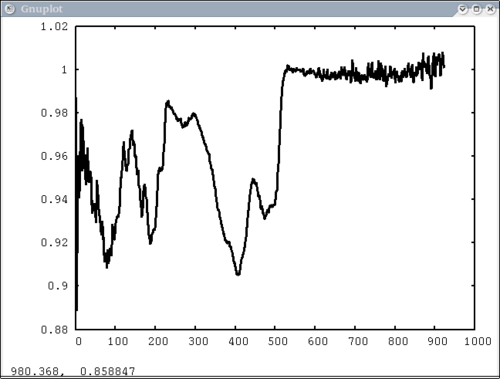
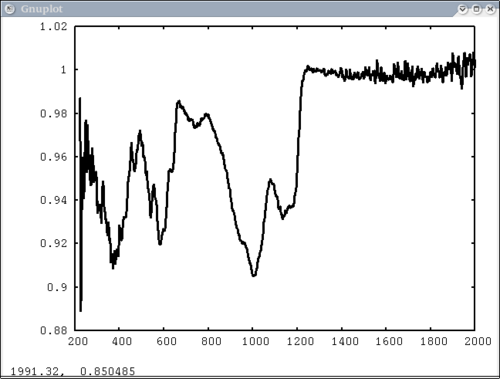
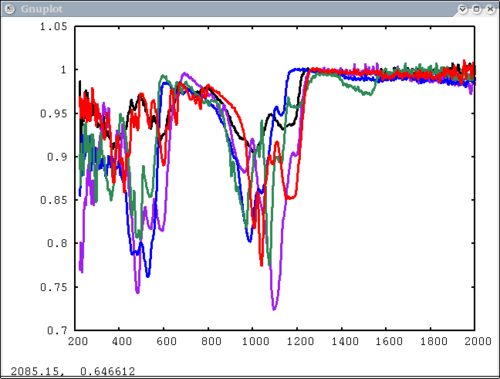
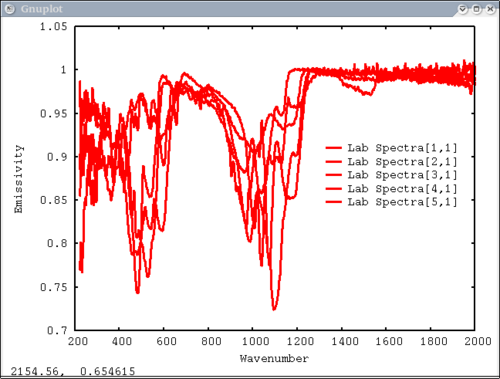
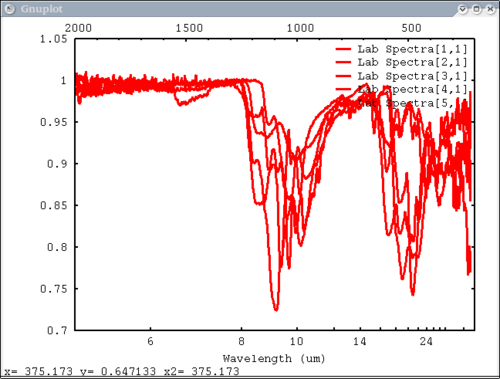
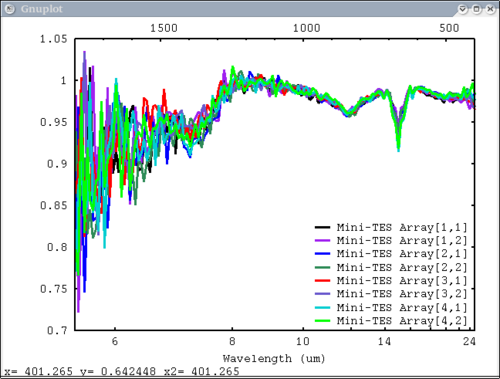
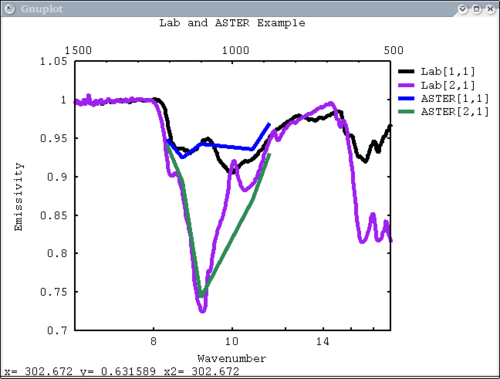
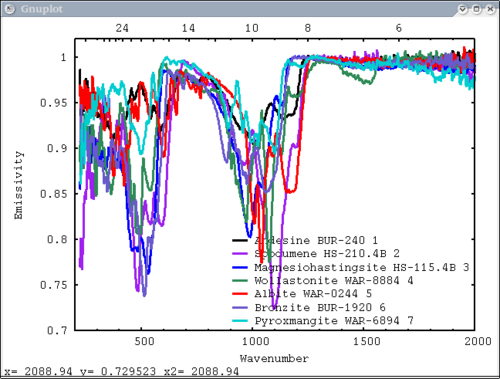
Procedure Setup all the data we need...lots of output will be printed (but has been omitted here) dv> xlab1 = make_band(lab1=1) dv> xtes = make_band(tes=1) dv> xmtes = make_band(mtes=1) dv> xthemis = make_band(themis=1) dv> xthemiscm = make_band(themis=1, cm=1) dv> xastercm = make_band(aster=1, cm=1) dv> xtimscm = make_band(tims=1, cm=1) # mini-TES data dv> minites_emiss = read($DV_EX+"/minites_cube.vicar") dv> array=minites_emiss[8:11, 5:6] dv> xx=array[1:4,1] dv> yy=array[1,1:2] dv> a=array[1,1] dv> b=array[2,2] dv> c=array[2,1] # tes data dv> tes_emiss = read($DV_EX+"/TES_emissivity_example.vic") # lab data dv> asu = read($DV_EX+"/ASU_minlib.hdf") dv> spectrum = asu.data[1] dv> lab_array = asu.data[1:5] dv> spec_struc = read($DV_EX+"/lab_structure.hdf") # make simulated aster data from lab - wavenumber x-axis dv> asterdata = i2i(asu.data, from='lab1', to='aster', cm=1) # make simulated tims data from lab - wavenumber x-axis dv> timsdata = i2i(asu.data, from='lab1', to='tims', cm=1) # make simulated aster data from lab - wavelength x-axis dv> asterdata = i2i(asu.data, from='lab1', to='aster') # make some simulated themis data - wavelength x-axis dv> emthemis_cube = i2i(asu.data[1:3], from = 'lab1', to='themis') # convert lab1 data to aster, tims, and themis with wavenumber x-axis dv> a1 = i2i(asu.data[1], from='lab1', to='aster', cm=1) dv> t1 = i2i(asu.data[1], from='lab1', to='tims', cm=1) dv> th1 = i2i(asu.data[1], from='lab1', to='themis', cm=1) Each image corresponds to the listed command Simplest possible case: 1 vector, no colors, no labels - like xplot dv> pplot(spectrum) 2. Simple case: 1 vector with user-input x-axis, no colors, no labels dv> pplot(spectrum, xaxis=xlab1) 3. Next simplest case: 1 array, user-input x-axis, no colors, no labels - will cycle colors automatically dv> pplot(lab_array, xaxis=xlab1) 4. Array of spectra, 1 color (for all), 1 label, x and y axis labels, key in specfic location Note: Order doesn't matter for colors and labels) dv> pplot(lab_array, 'Lab Spectra', 5, xaxis=xlab1, xlabel = 'Wavenumber', ylabel = 'Emissivity', key= '1400, .91') 5. Array of spectra, 1 color (for all), 1 label, standardized lab plot dv> pplot(lab_array, 5, 'Lab Spectra', lab1=1) ............................................................................... 6. 1 array, 1 label, no colors specified - will auto cycle through colors and add index to label. Key in bottom right. Standard Mini-TES plot dv> pplot(array, 'Mini-TES Array', key = 'bottom right', mtes=1) 7. 2 different data elements with different x axes. x, y limits, manually make lower x-axis wavelength but linear in cm-1. The x-axis is in wavenumber, but want a plot that is in wavelength on the lower axis. line weight 5, font_size 26, x-axis, y-axis, and plot labels dv> pplot({asudata[1:2], asterdata[1:2]}, xaxis={xlab1, xastercm}, {'Lab', 'ASTER'}, key = 'outside', \
wave=1, x1=500, x2=1500, y1=.7, y2=1.05, lw = 5, font_size=26, xlabel='Wavenumber', \
ylabel='Emissivity', plot_title = 'Lab and ASTER Example')
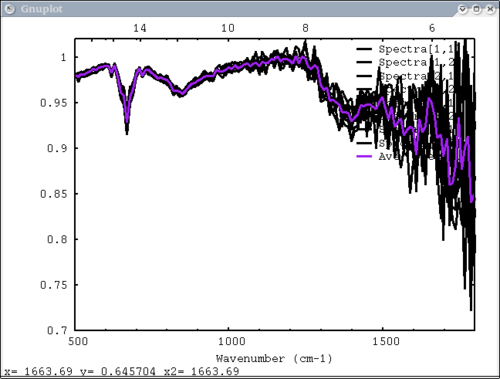
8. 2 data elements (1 array & 1 vector), 2 colors, 2 labels - single color and single label for each data element dv> pplot({array, avg(array, xy)}, {1,2}, {'Spectra', 'Ave. Spectrum'}, xaxis=xmtes, x1=500, \
x2=1800, y1=.7, y2=1.02, cm=1)
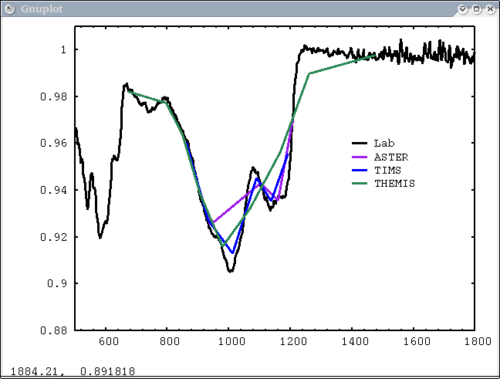
9. ASU spectral structure example dv> pplot(spec_struc) 10. Resample example - lab, mtes, tes, and themis spectra dv> pplot({asu.data[1], a1, t1, th1},{1,2,3,4}, {'Lab','ASTER', 'TIMS', 'THEMIS'}, key='1450,.96', \
xaxis={xlab1, xacm, xtcm, xthcm}, x1=500, x2=1800, y1=.88, y2=1.01)
doing broadband
.........................................................
doing broadband
.........................................................
doing broadband
.........................................................
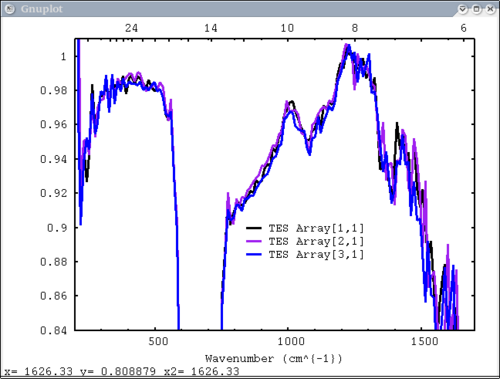
11. write to ps and pdf files. TES default plot, wavenumber on bottom x axis, ps, pdf dv> pplot({tes_emiss[1:3,1]}, {'TES Array'}, key = '900, .9', tes=1, emiss=1, cm=1, \
ps=$TMPDIR+"/junk.ps", pdf=1)
Outputting postscript to file: ./junk.ps
Wavelength on the top
converting to pdf file ./junk.ps.pdf
Using postscript line colors from file: /u/cedwards/.Xdefaults
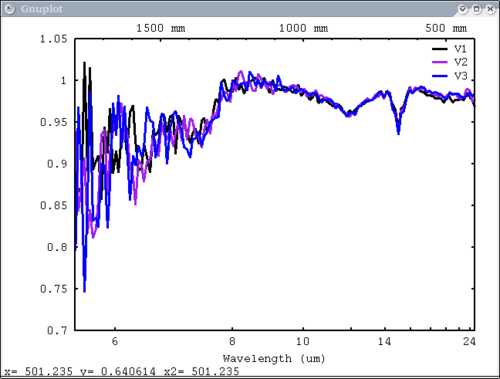
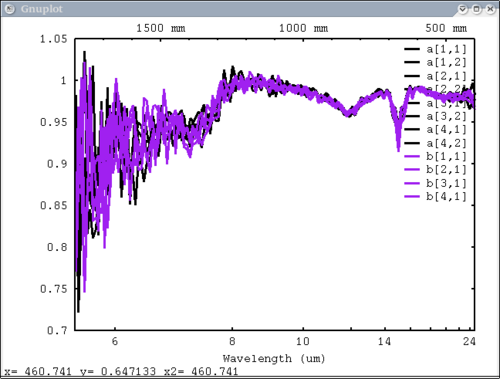
Now I'll demonstrate the more esoteric functions and features 3 vectors, 3 labels, no colors - will auto cycle through colors dv> pplot({a,b,c}, {'V1', 'V2', 'V3'}, mtes=1)
2 data elements, 2 colors, 2 labels in structures - single color and single label for each data element dv> plot({array, xx}, {1,2}, {'a', 'b'}, mtes=1)
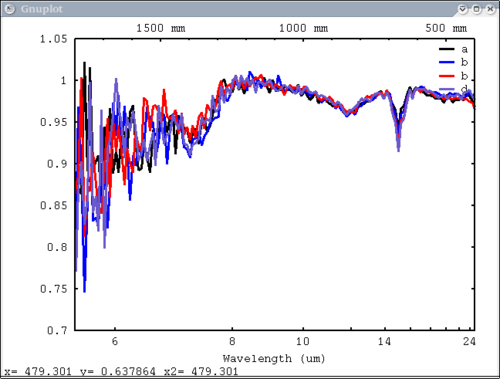
Just 1 data element with 4 vectors in x, 4 labels, 4 colors dv> pplot(array[1:4, 1], {1,3,5,6}, {'a', 'b', 'b', 'd'}, mtes=1)
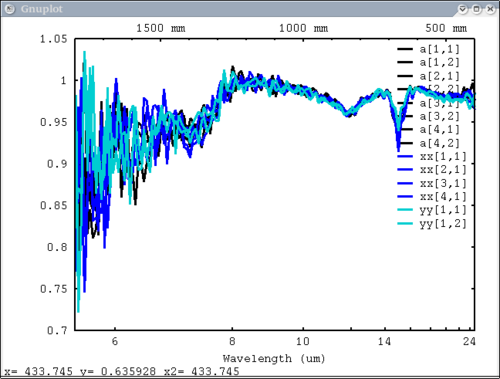
3 data elements, colors WERE specified, one color for each and 1 label for 'a', 'xx', 'yy' dv> pplot({array,xx, yy}, {1,3,7}, {'a','xx', 'yy'}, mtes=1)
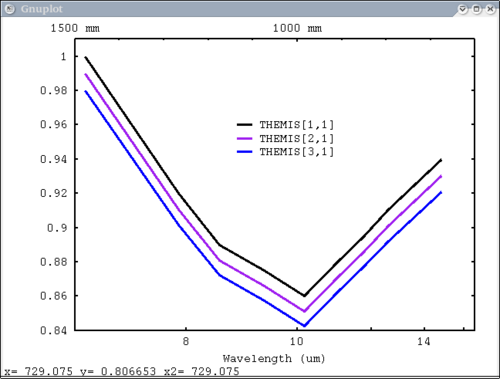
THEMIS default plot, wavelength on bottom x axis dv> pplot(emthemis_cube, 'THEMIS', key = '1100, .96', themis=1, emiss=1) |
DavinciWiki Mini-Nav Bar Contents
Contact Developers
All other topics
|
